
The world of technology and smartphones are always evolving. It ever-changing market brings something new and the old is dusty and forgotten. We invest so much time, care and money onto our older possessions, only to eventually discard them. Instead, repurpose your old PC into a Chromebook with ChromeOS Flex.
Programmes and gadgets can be recycled if one is planning on reselling them in the 2nd hand market. But sometimes, it’s smart to have a spare pc in case of emergencies in case the main pc faces problems.
In this case, the software needs to be refurbished, otherwise, the space pc will take an eternity to boost and work its way through regular jobs and nobody wants that.
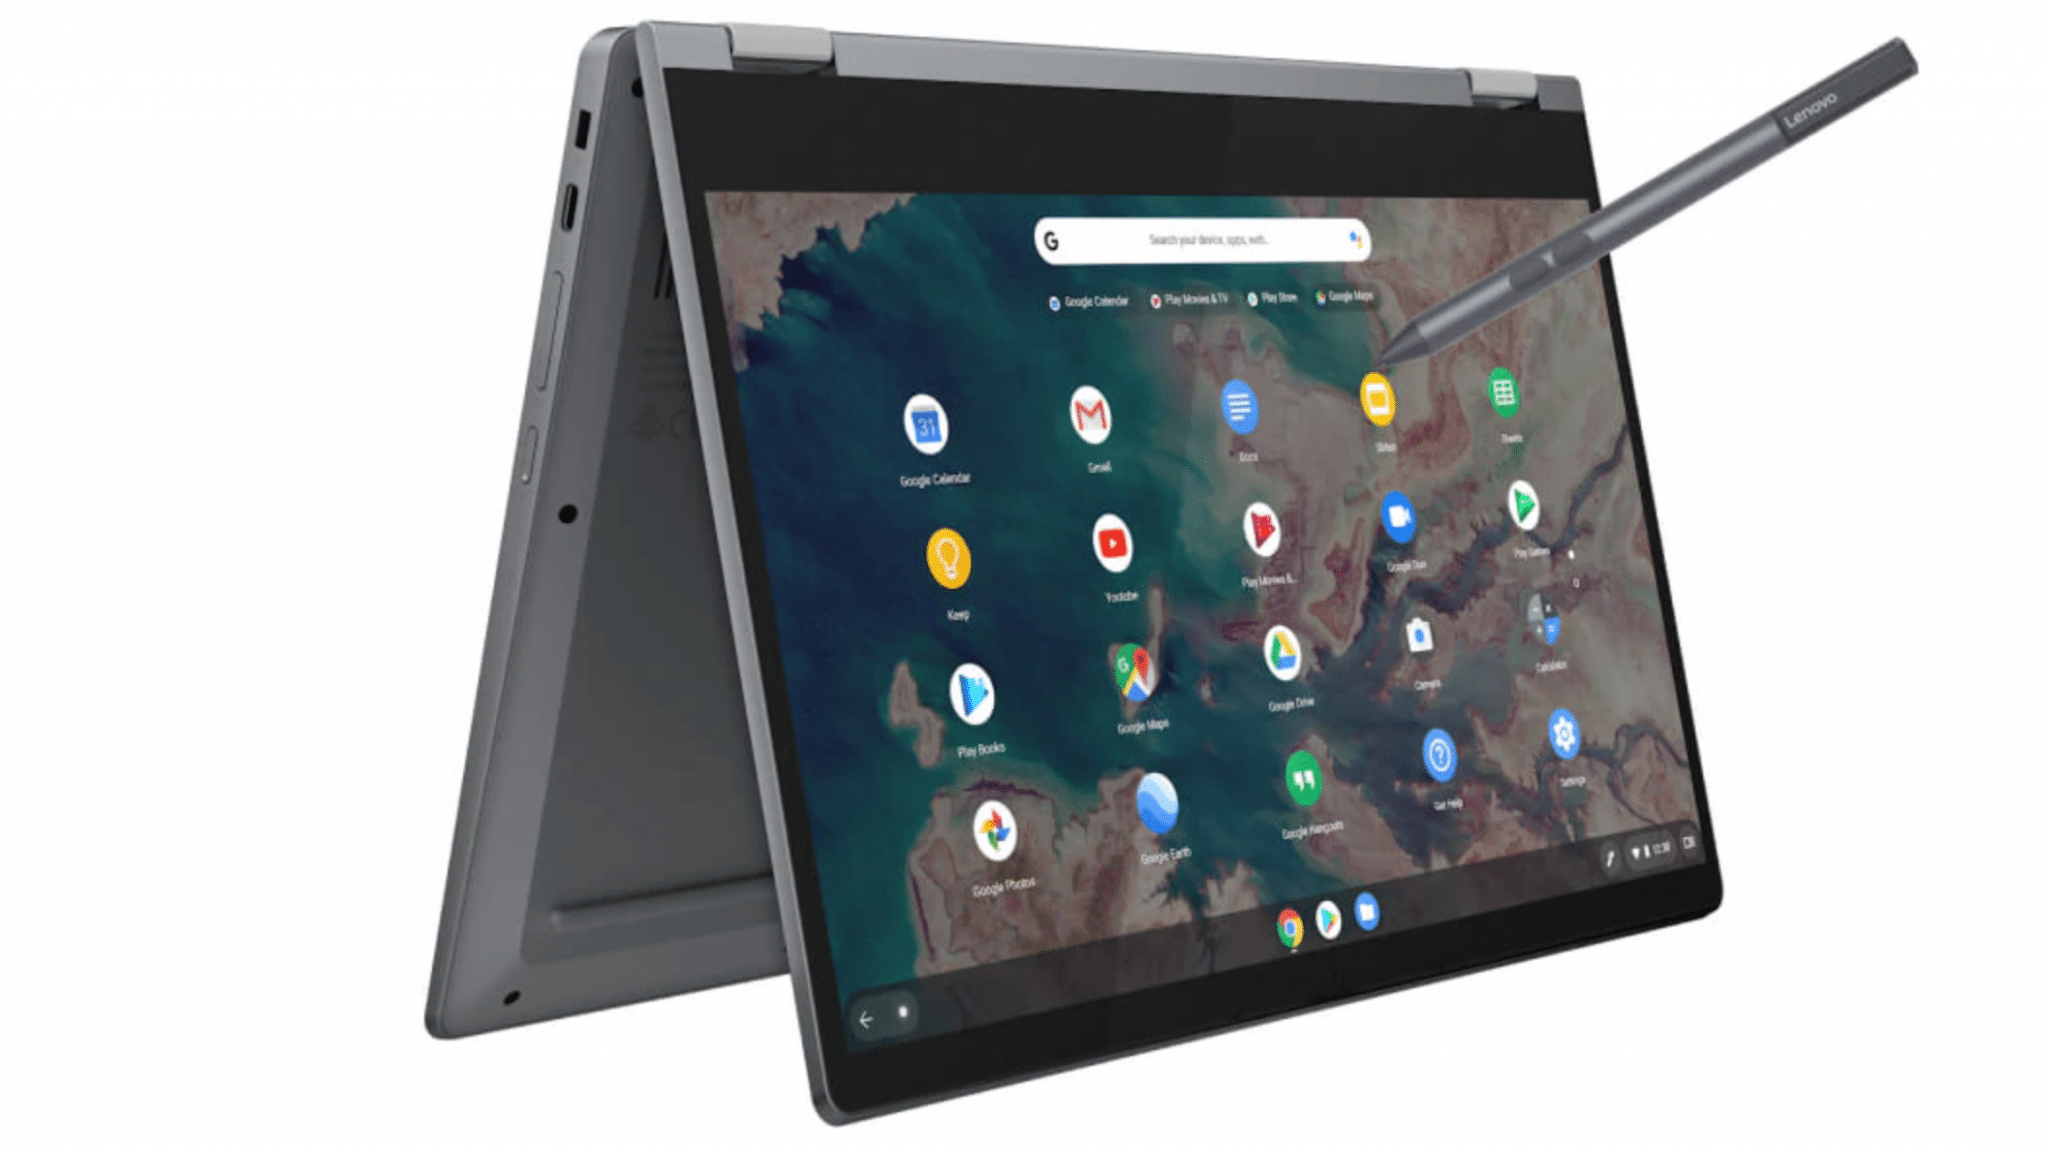
ChromeOS Flex has the ability to revamp one’s old system (be it windows or mac), giving birth to a brand new functional Chromebook.
This programme – ChromeOS Flex was introduced to the market in February 2022. It came in as the “first cloud version of ChromeOS for PCs & Macbooks”.
This was derived and refined from CloudReady, a software created by Neverware. This software allowed users to install ChromeOS on virtual machines.
Eventually, Google acquired CloudReady from Neverware and released it as ChromeOS Flex with minor changes and updates. One of the predominant advantages of this software is that now ChromeOS Flex is much easier to use than before.
The interface for ChromeOS and ChromeOS Flex is almost identical because as per Jerry Hildebrand, the codes used in both are the same. The only difference between the two is the use of Linux support in the latter.
On the other hand, one feature of the former is missing in the latter counterpart – which is the android support. “While Google supports Android apps on many Chromebooks, they’re not supported on ChromeOS Flex devices”.
This too has a loophole. Numerous android apps can still be downloaded if they have a progressive web app version available.
Requirements :
Google takes notes of when the software is not compatible with a laptop. Google has a hard set of laid-out system requirements. Here is the checklist.
-Intel or AMD x86-64-bit compatible device
-RAM of 4GB
-ROM of 16GB
-Bootable USB Drive
-BIOS: full access to administrator
-Processor & graphics counterparts made after 2010.
Checklist to work with certified models :
-At least one mode of Audio Input
-At least one mode of Audio Output
-Internal display if it’s available
-Video output
-installation
-Wi-Fi
-Touchpad (if present)
-Functional Keyboard
-sleep and resume functionality
-System User Interface & graphics
-USB
-Webcam (if present)

Checklist of what might not comply & work:
-Auto screen rotation
-Bluetooth
-Keyboard shortcuts and Function(F) keys – like volume and brightness.
-Touchscreens
-SD card slots
Creating a ChromeOS Flex USB Installer is the first step.
Installation of ChromeOS Flex isn’t as easy as anyone might deem it to be. It’s more than a few taps and clicks here and there.
One needs a physical USB installer which is bootable. It’s recommended to have at least 8GB of storage in the said device. A fair warning is: that the previous contents of the device used will be permanently erased in the creation process.
The Process:
-Open Chrome on the “installer device”;
-Navigate towards the Chrome Web Store;
-Search for “Chromebook Recovery Utility”;
-Click on Add to Chrome button;
-Click on Add Extention button in the prompt;
-Once installation is complete, click on Extensions on its toolbar;
-In the Chromebook Recovery Utility box, click on the toggle button present in the bottom right corner;
Moving on to creating the USB installer:
-Open Chrome Recovery Utility extension;
-Tap the “Get started” button;
– Click Select a model from the list on the Identify your Chromebook page;
-tap on Google ChromeOS Flex under Select a manufacturer;
-Tap ChromeOS Flex under Select a product;

-Tap on Continue;
-Insert USB drive once the prompt arrives;
-from the drop-down menu, select the name of the USB drive;
-tap on Continue;
-Tap on Create Now;
Boot into ChromeOS Flex
Once one has verified that their device is compatible with the ChromeOS Flex. Now the USB installer has been created and now one can ‘breathe life into the once dominant device. Here are the steps to achieve so.
-Turn off the laptop/computer;
-Insert the newly created USB installer drive;
-Switch on the Power of the laptop/computer;
-Immediately press the boot key of the device;
-Once the prompt pops up, select the USB installer as one boot device.
Now comes the arguably, easiest process of the whole predicament. Installing the ChromeOS Flex.
-Click on the get started button from the Welcome to ChromeOS Flex screen;
-Click install ChromeOS Flex;
-Read and confirm the on-screen warning with respect to permanent deletion of all data;
-Tap the Install ChromeOS Flex button;
After the completion of the gruelling process, a message will appear confirming so and one can now fire up their laptop/ computer as a brand new Chromebook.
Google is really working towards making this programme available and accessible to everyone so the older laptops don’t just sit and collect dust. Thus, what once was old can be new again.
For more such updates, keep reading techinnews
